Welcome, weary traveller 🙂
So, two weeks before the day the 50 year anniversary episode would be shown in movie theaters, I realized three things:
- Oh dear, I have nothing to wear for an event of this magnitude
- I’m only my way to a fabric market
- fuck yeah: rhinestones \o/
Sunday, the 10th:
I bought loads of dark blue cotton satin and spent hours perusing TARDIS cosplay pictures, trying to figure out what exactly I want to do.
Monday, the 11th:
I sewed a purse.

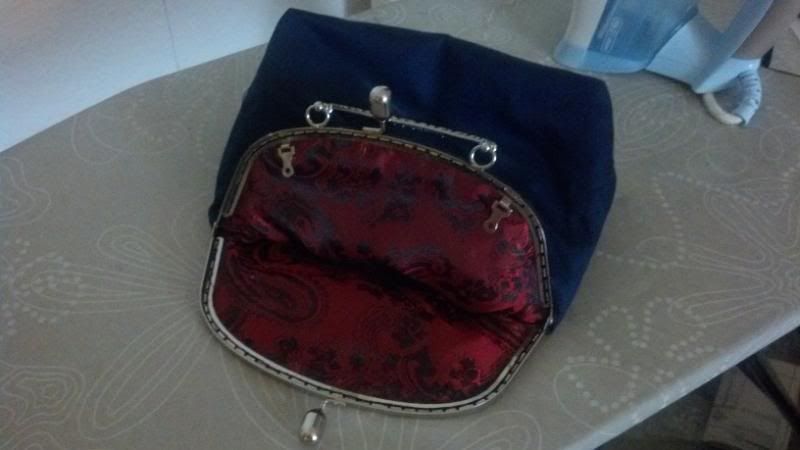
Yay, the outfit is almost done 😀
Tuesday, the 12th:
My rhinestone applicator arrived complete with 3000 stones in different sizes, and 1440 stones I ordered extra.
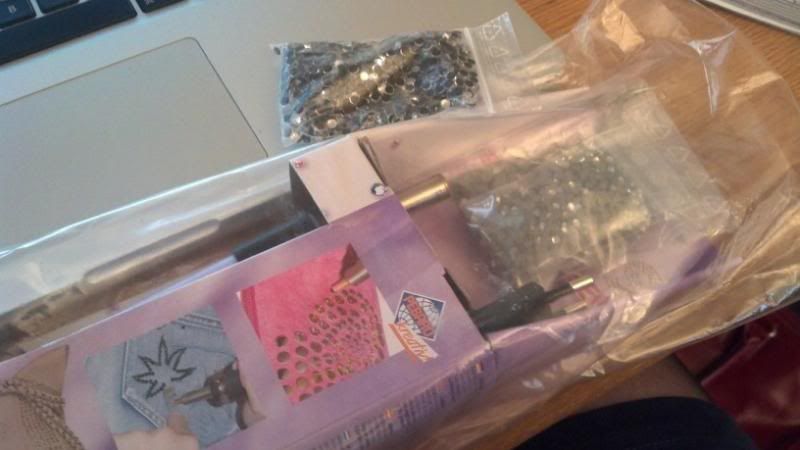
I experimented:

It takes about 7s for the applicator to heat one stone until the glue melts and the stone sticks to the fabric.
Only later I realized that this means that a pack of 1440 stones would take 28 hours.
I started making templates out of sticky letters, until I realized that the pack of larger letters only contained half an alphabet O.O

Oooookay…
So, that was Tuesday:
Wednesday, the 13th:
I copied the pattern and cut the fabric.
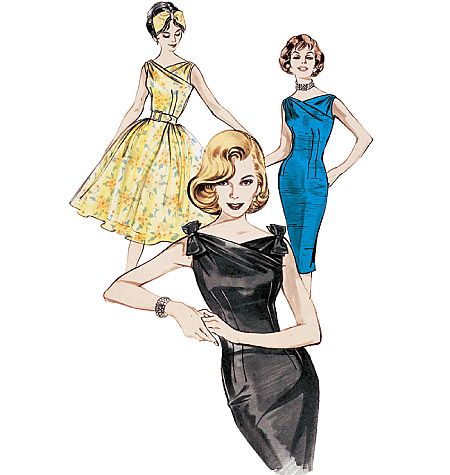
I used Butterick 6582, which I had sewn once before:
Thursday, the 14th:
I searched for TARDIS blueprints and found tons of them.
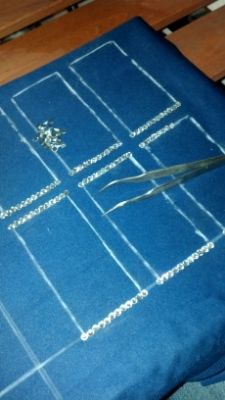
I used them to draw the templates for the window elements.
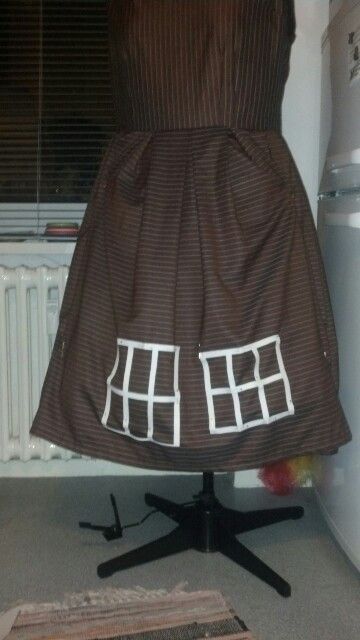
This is the first incarnation of the dress with two different templates.
The Whovians among my friends agreed that the left one was better.
Friday, the 15th:
I bought transfer foils and started sticking the rhinestones to them in an attempt to speed up the glittery part.
28 hours, my ass.
Sunday, the 17th:
I sewed the upper part of the dress and cut out the skirt pieces.
The yellow version of the dress has a circle skirt, but I hate cutting them. So I decided to use box pleats instead, as I had already done for the brown dress.
Then I tried ironing on the rhinestones with the transfer foils.
It worked rather well, but the foils warped in the process. I had been told they were reusable, but as warped as they were, I had my doubts.
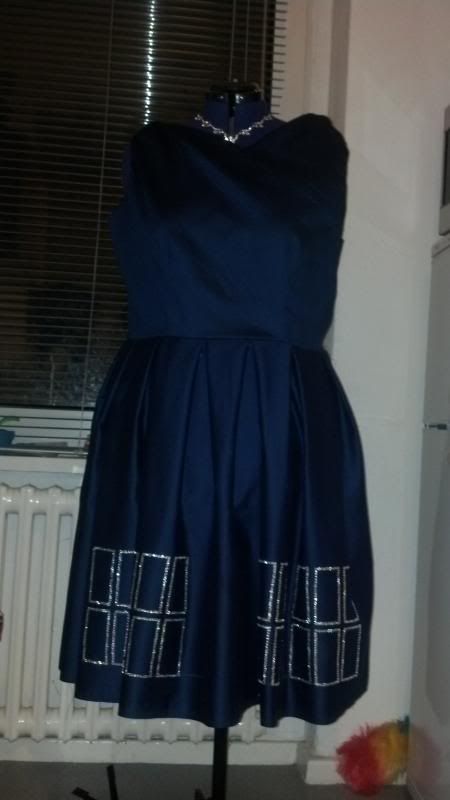
So, the first attempt:
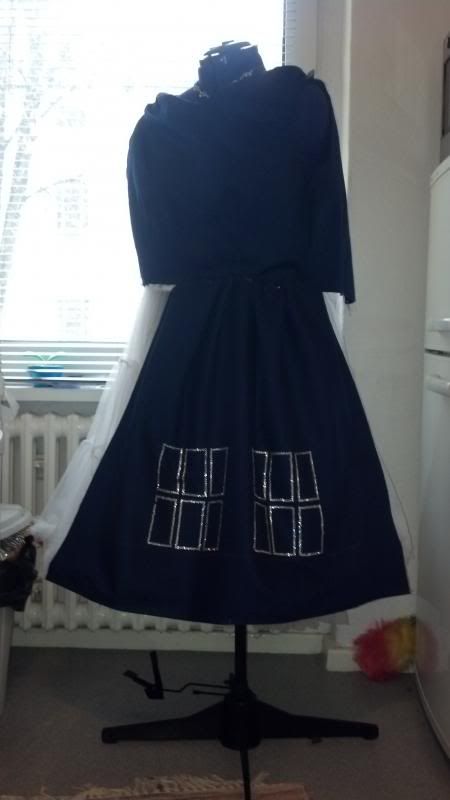
I totally love the rhinestones, but the two six-pane elements were too high and too far apart 🙁
Back to the drawing board.
I decided to try putting the stones directly on the fabric and simply ironing over them.
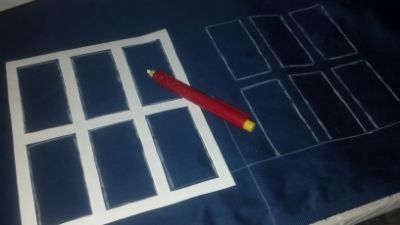
And guess what?
It worked like a charm! (Note: in the meantime, I had ordered two more packs of rhinestones à 1440pc)
With this technique I was able to do two window elements in slightly under two hours. The process became even more fun with the audio plays @1atalante1 had supplied 🙂
Damn, this is gonna be so awesome 😀
Monday, the 18th:
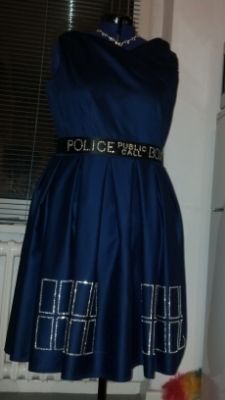
I attached the skirt.
The dress is done except for the back seam and the zipper.
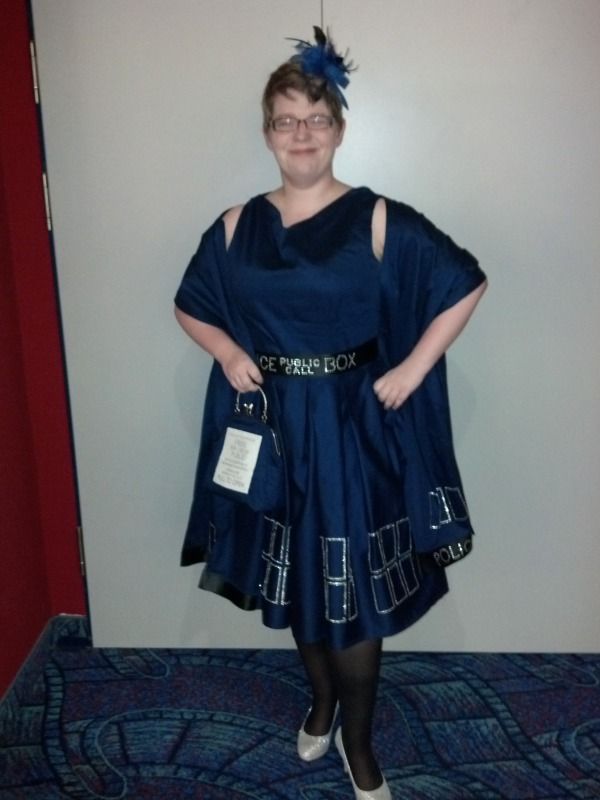
Since Brunhilde is a lot less curvy than me and not wearing a petticoat, it looks about 20% cooler on me 😉
Wednesday, the 20th:
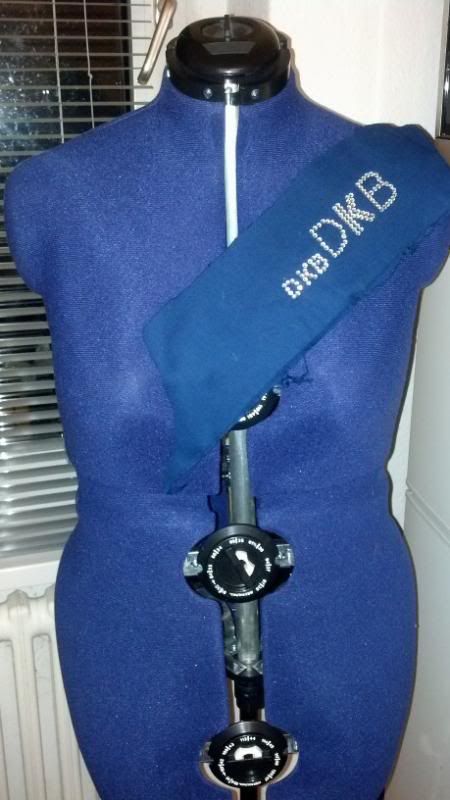
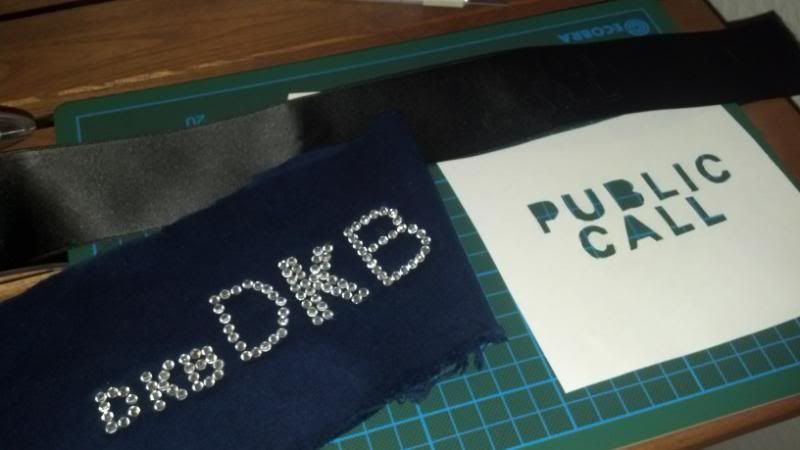
I made the sash and the embelishments for the stole:

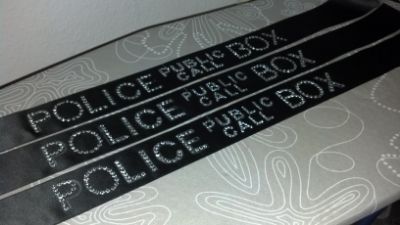
For the first attempt, I used the same size of stones for all letters (as you can see from the topmost version), but then I decided to use smaller stones for the smaller letters (bottom two versions)
So I made two strips of 70cm which will be attached to the short edges of the stole, and a sash that will be tied into a bow at the back:
It’s getting there 🙂
Epilogue:
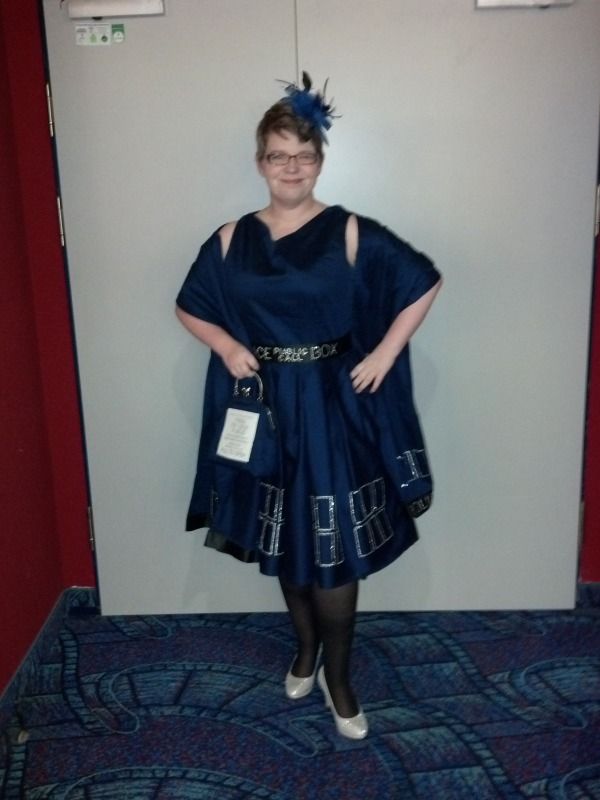
Even though the blogging stopped on Wednesday, I actually made it 🙂
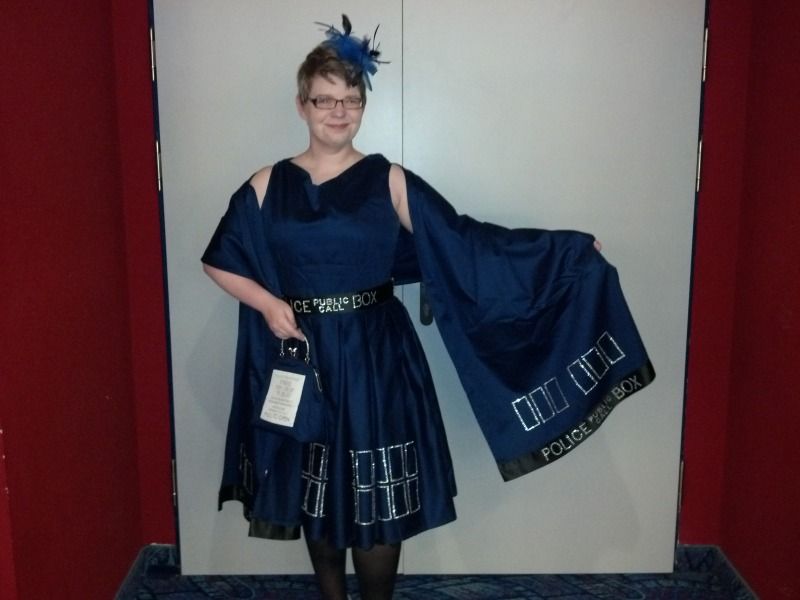
I showed up at the movie theatre and without flattering myself I have to say that my dress was one of the bigger spectacles there 😀
After the show had ended I was asked for a few photos, and it took nearly half an hour until everyone was satisfied. Unfortunately, I haven’t seen any of the photos that were made that day 🙁
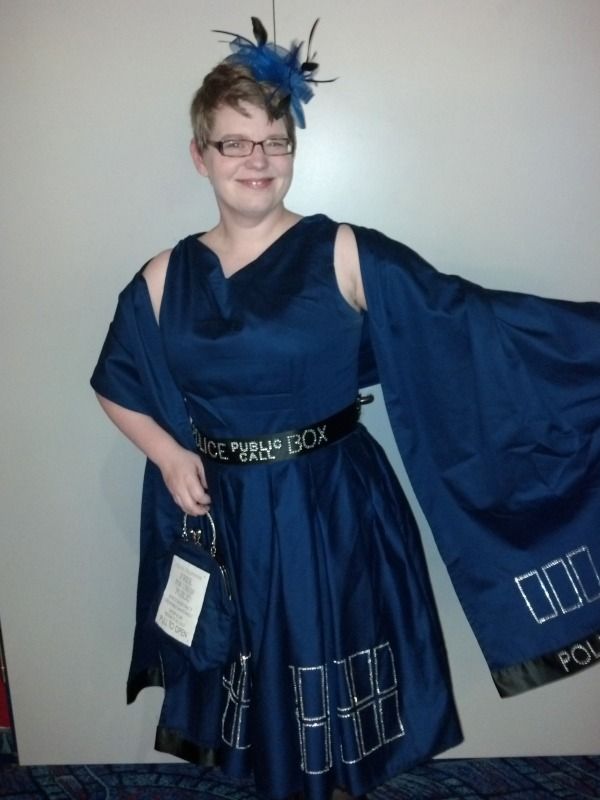
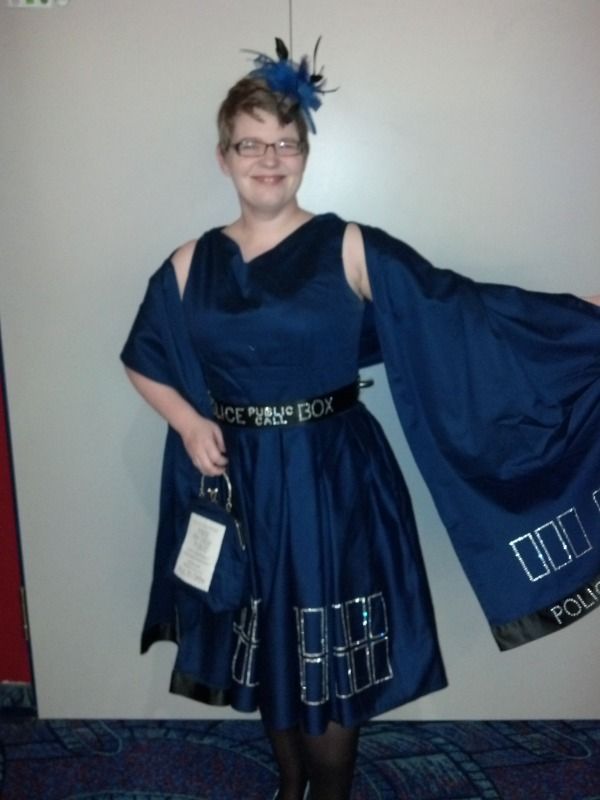
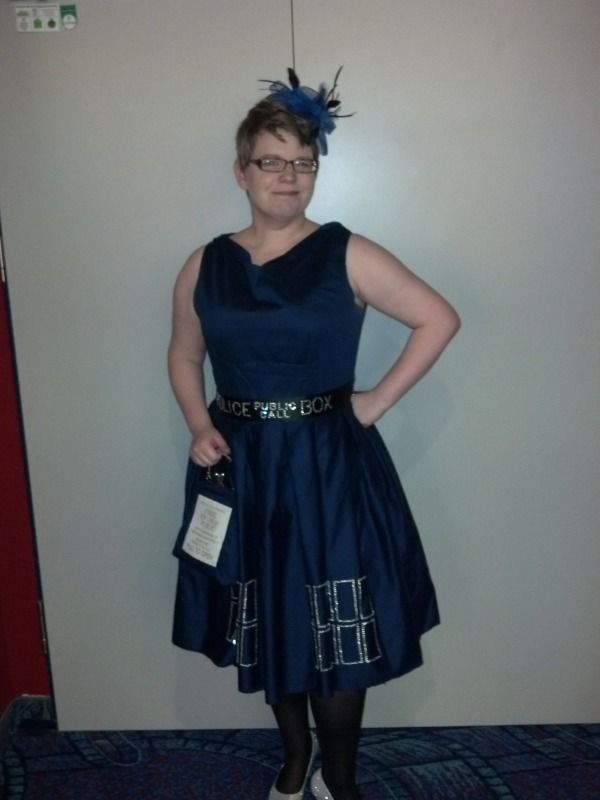
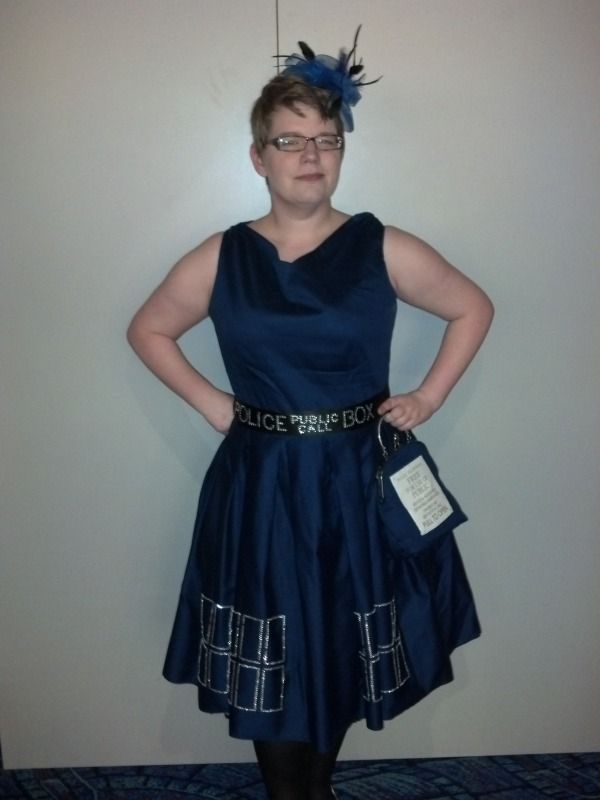
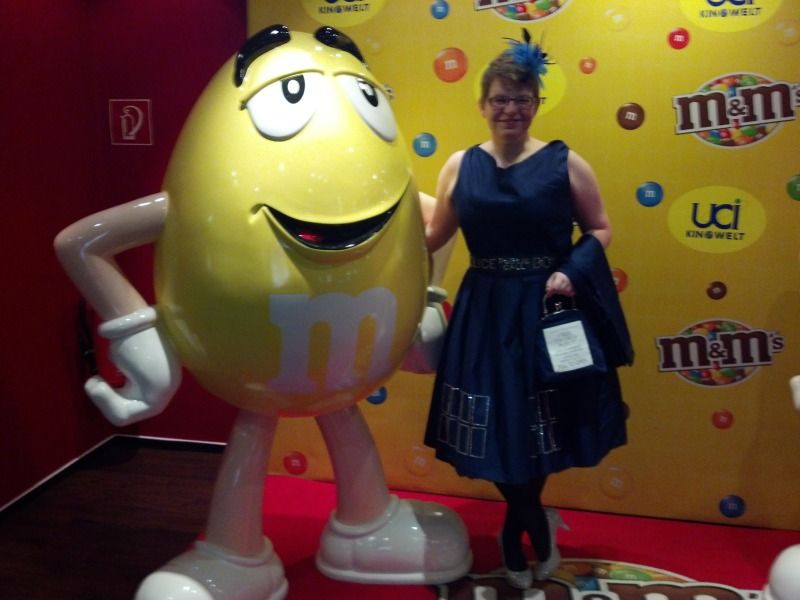
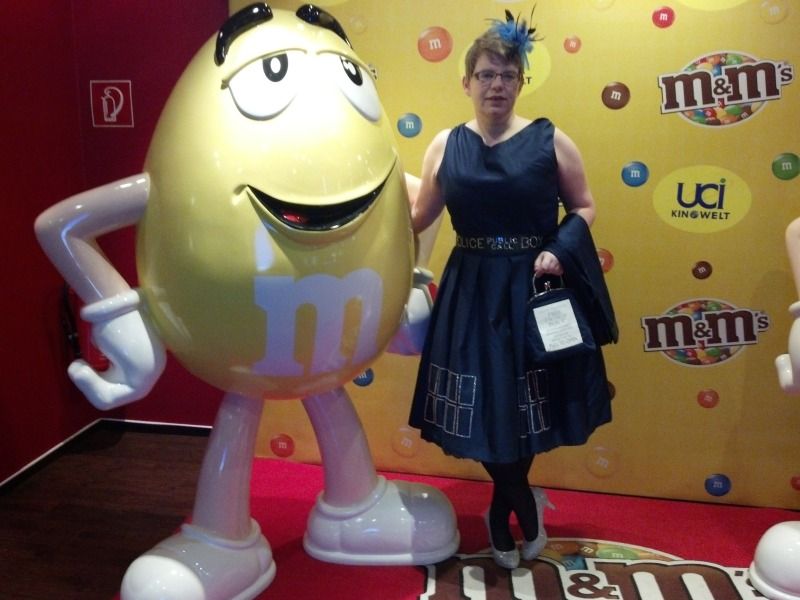
Fortunately, I had the opportunity to wear the costume again for the viewing of the first episode of Season 8, and there my friend @kungler kindly made quite a few photos of me, which you’ll find below and in my Photobucket 🙂


Schreibe einen Kommentar